

✦ THE ENCHANTED WORKSHOP · SPECIALIST TUTORIAL · BLENDER 5.2 ✦
Normals & Specular Maps
Add the illusion of raised details and beautiful light reflections—with practical Blender steps and clear classic-versus-PBR guidance.
Beginner-friendlyBlender 5.2OpenSim & Second Life notes
Welcome to the Workshop!
A dedicated guide to normals, shine, Blender 5.2 and classic Second Life/OpenSim materials.01
THREE IMAGES, THREE DIFFERENT JOBS
Color, Normal & Specular
One picture determines what a surface looks like. Another can change the way light describes its tiny bumps. A third controls its reflected highlights. These maps are related, but not interchangeable.
Color / Diffuse
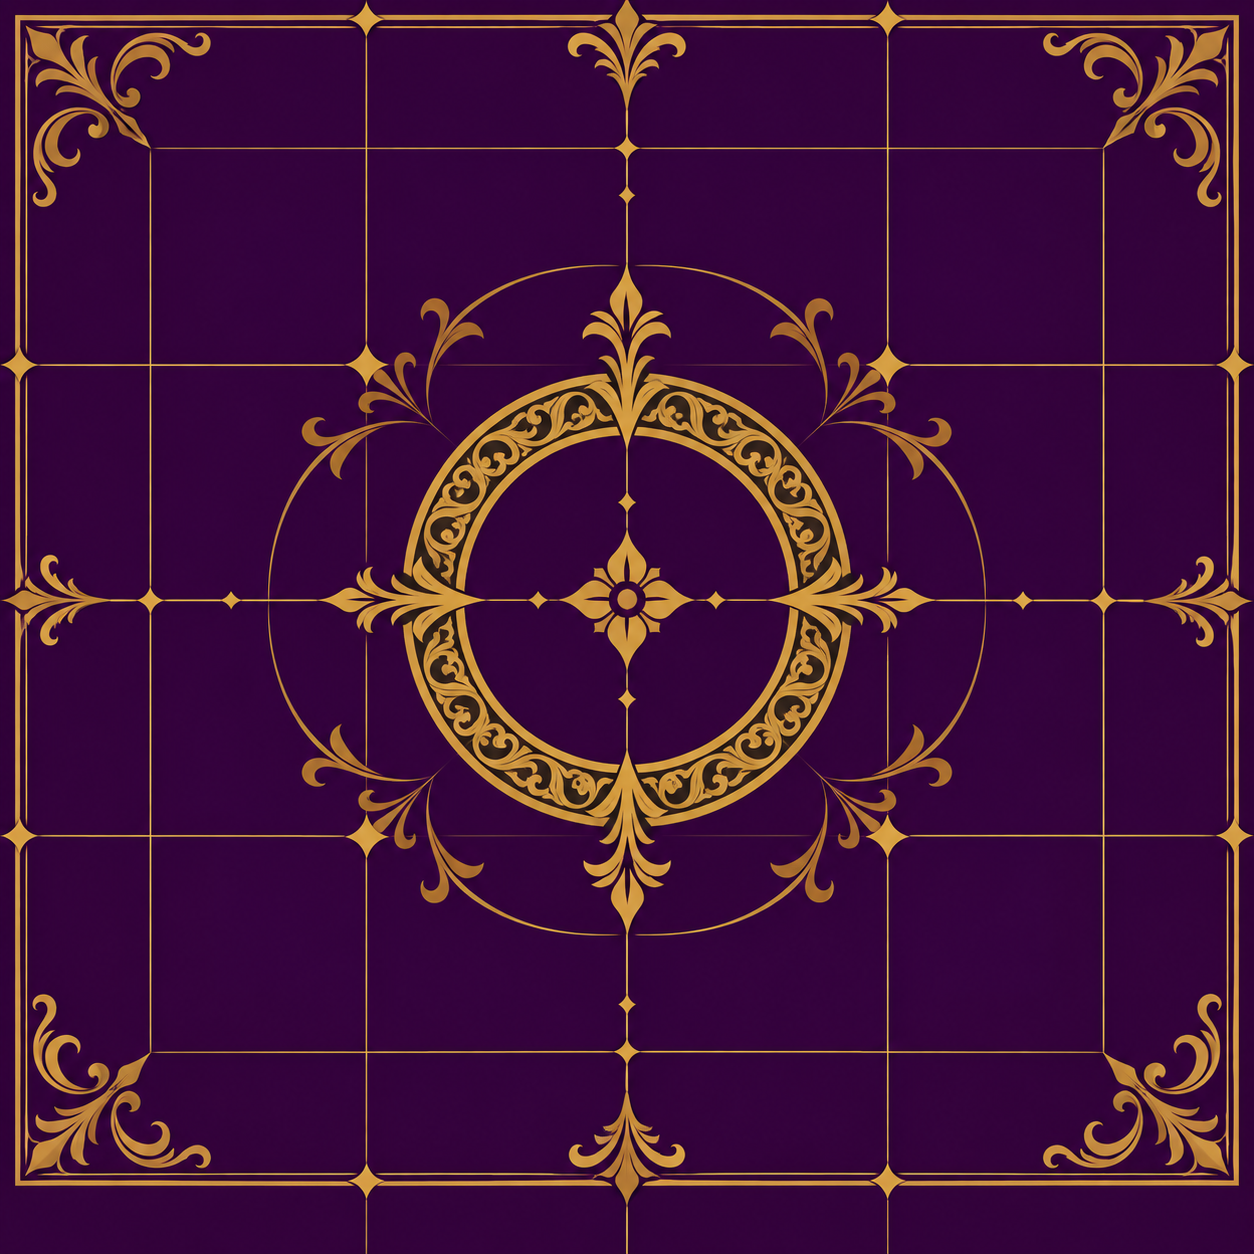
Visible painted colors and pattern—purple velvet and antique gold.
Normal Map
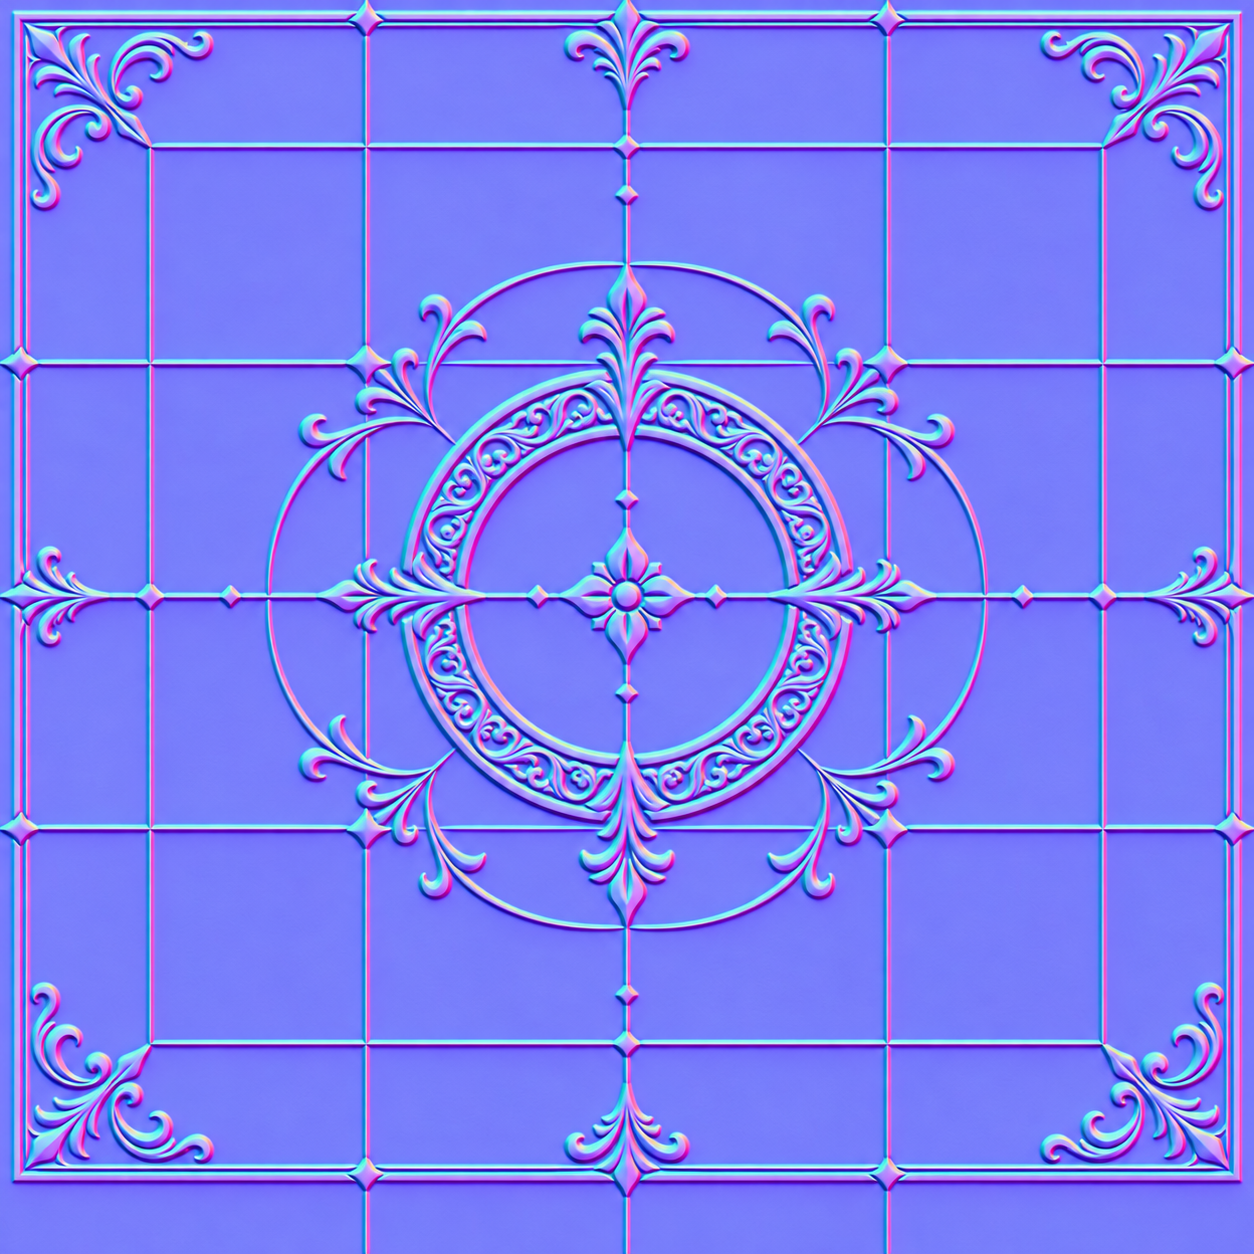
Surface lighting direction, simulating dents and raised ornament without extra mesh.
Specular Map
Reflective color or intensity, depending on the material workflow.
Important distinction: Normal maps do not truly change the silhouette or the mesh. In modern Blender materials, Roughness and Metallic inputs are the main starting point for shine. Classic Second Life specular maps follow a different, older convention.
02
AN ORNATE PRACTICE SET FROM THE WORKSHOP
Download Our Ornate Practice Maps
All three images use the same layout, so their ornamental details will align. The normal map is an OpenGL-style (+Y) tangent-space map. The specular sample below is intended to demonstrate the classic Second Life/compatible OpenSim materials channel convention, not a metallic-roughness PBR texture.
OpenGL Normal
A blue-violet OpenGL-style normal example. Set Color Space to Non-Color.
Download Normal ↓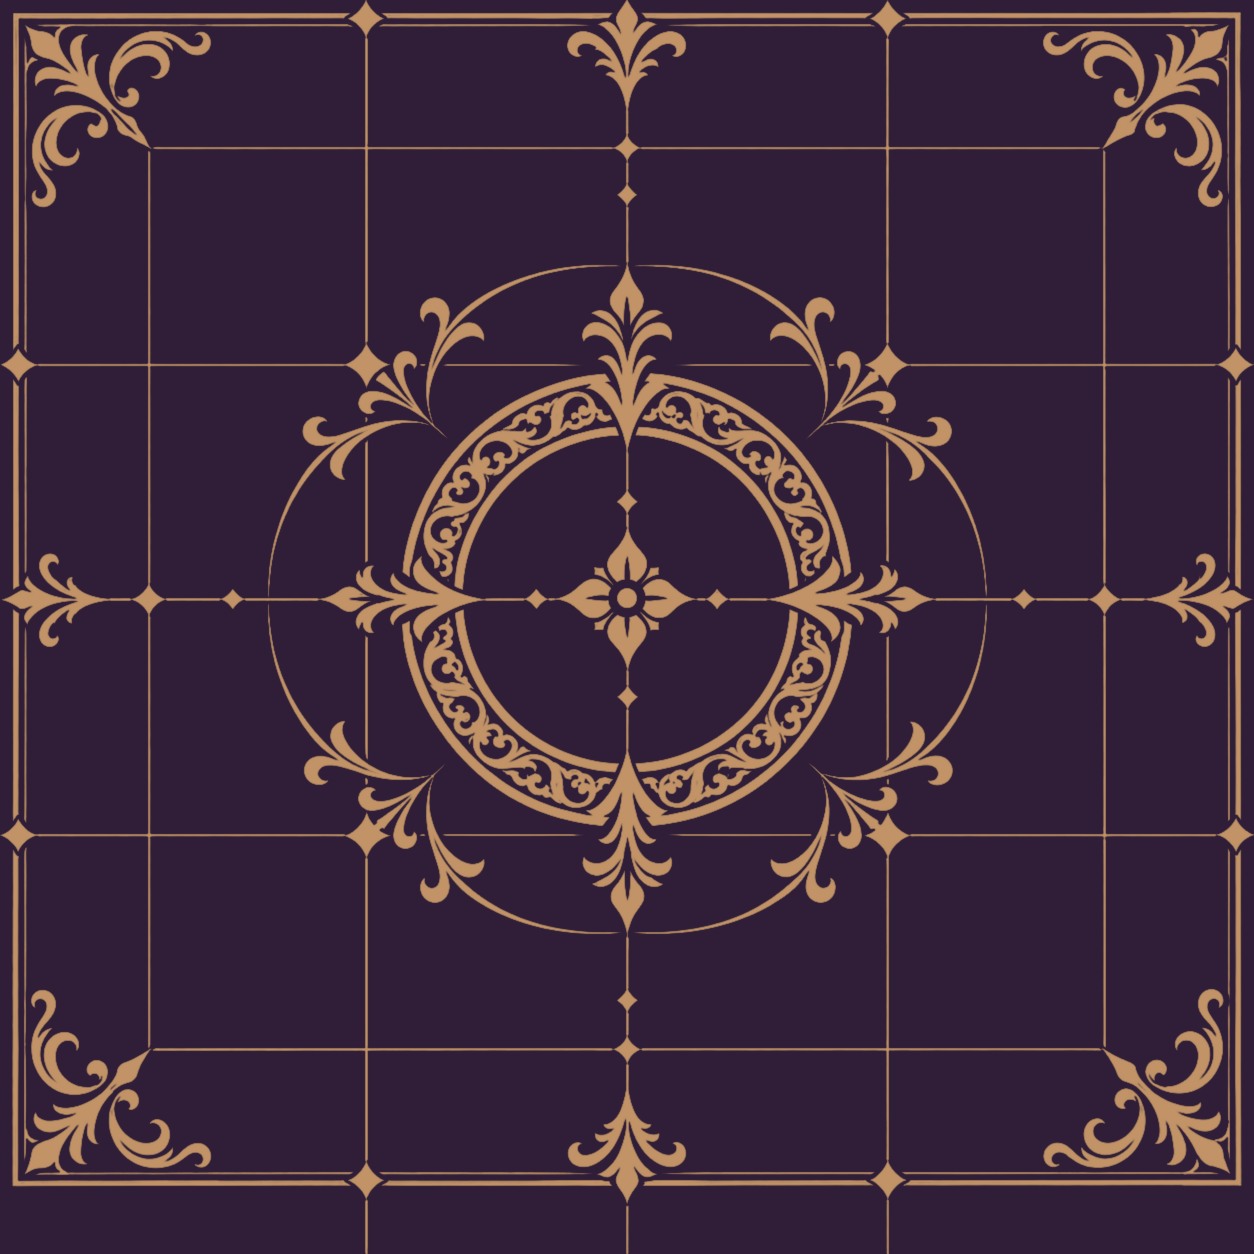
Classic Specular
RGBA PNG: RGB controls highlight color; alpha provides sample environment intensity for classic SL materials.
Download Specular PNG ↓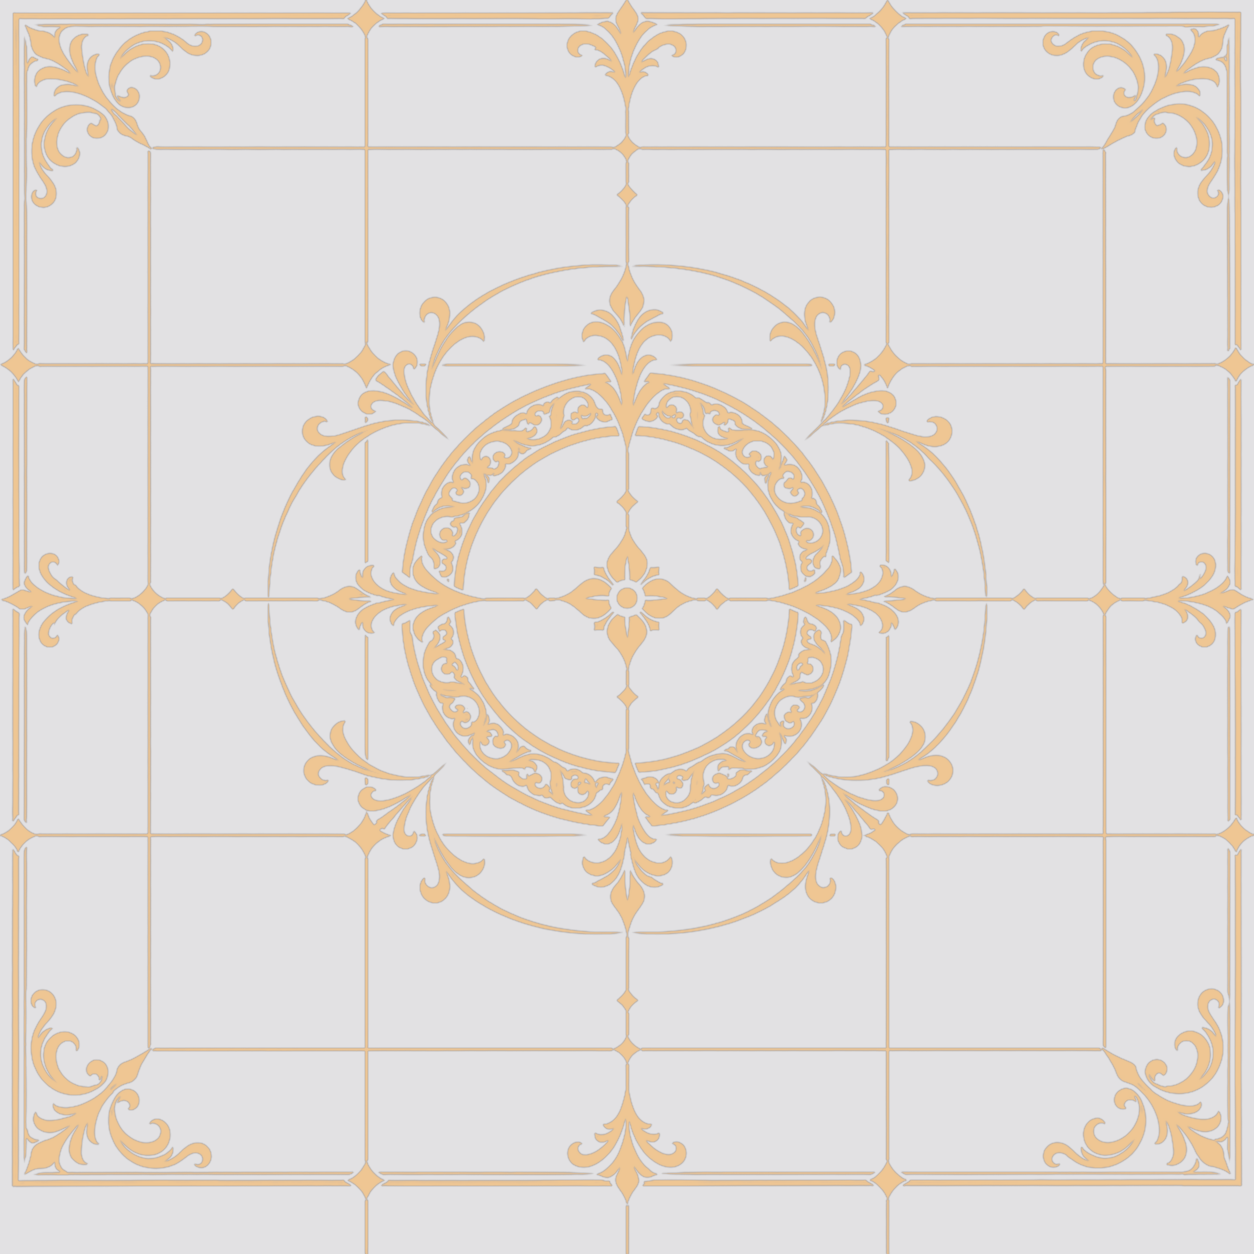
Why the specular preview differs: The visible JPG is only a preview on a solid background. Download the linked RGBA PNG to retain the meaningful alpha channel.
03
A LIGHTING ILLUSION
Use a Normal Map in Blender 5.2
- Create or select a UV-unwrapped object (a cube works for the first test) and open the Shading workspace.
- Create a material with a Principled BSDF. Optionally load the matching ornate-relief-color-v195.png as Base Color (regular sRGB color space).
- Add another Image Texture and open ornate-relief-normal-opengl-v195.png. Change this node's Color Space to Non-Color.
- Add a Normal Map node: Shift+A → Search → Normal Map. Leave Space: Tangent.
- Connect Image Texture Color → Normal Map Color → Principled BSDF Normal.
- In Material Preview, rotate the light or object to see detail react to light. Adjust Normal Map Strength for subtle results; around 0.4–1.0 is a useful starting range, not a rule.
Flat or inverted detail? Check the texture is Non-Color and the Normal Map node is connected. Blender uses OpenGL (+Y) by default; a DirectX (-Y) map may appear inverted unless you convert/invert its green channel.
04
HOW LIGHT FINDS YOUR GOLD
Make Stone Matte and Brass Shiny
In Blender 5.2, most everyday shine is controlled through the Principled BSDF. You do not need a classic SL-style specular map just to make an object glossy.
Rough stone
Metallic ≈ 0, Roughness ≈ 0.75: broad, muted highlights.
Polished amethyst
Metallic ≈ 0, Roughness ≈ 0.2–0.35: sharper highlights under suitable light.
Antique brass
Metallic ≈ 1, Roughness ≈ 0.25–0.45: colored metal reflections.
- In the Shader Editor, select your material's Principled BSDF.
- Start by adjusting Roughness and Metallic while viewing the object under an environment light or lamp.
- For variation across the object, plug a Non-Color grayscale roughness image into Roughness. Remember: dark = smoother / sharper reflections, light = rougher / broader reflections.
Do not plug a legacy colored specular RGB map directly into Roughness. Its colors encode a different purpose. A proper roughness map is a separate grayscale data texture for the modern PBR/Principled workflow.
05
TWO DIFFERENT MATERIAL LANGUAGES
Classic Specular in Second Life & OpenSim
In the classic Materials workflow, a separate specular texture can affect highlight color. Its alpha channel may control how strongly the environment reflects. Glossiness and Environment are additional classic material controls. This is not the same as a modern PBR metallic/roughness map.
- Upload the matching diffuse/color, normal, and classic specular PNG files into your grid or viewer inventory.
- In the object's Edit / Texture controls, use the classic material texture options available in your viewer to assign the normal and specular images to the correct surface.
- Start with moderate Glossiness and Environment. Look at the object with changing sun or local light; highlights need light to become visible.
- Check texture rotation, repeat and offset for all map channels so the details line up.
- For a grid or viewer using PBR/glTF materials, follow that separate workflow instead of assuming classic specular settings apply.
Classic channel reminder: Specular RGB tints reflections; specular alpha affects environment intensity. The normal texture is OpenGL-style RGB, with optional additional classic-channel alpha meanings. Your grid and viewer must support the relevant materials features.
06
SMALL FIXES, BIG DIFFERENCE
Troubleshooting Maps & Shine
Normal detail looks inside-out
Check OpenGL vs DirectX normal orientation; Blender's default tangent-space convention is OpenGL (+Y).
My normal image looks gray/purple but flat
The Image Texture must feed a Normal Map node, and that node must feed the BSDF Normal input. Use Non-Color for normal data.
The shine is not visible
Try lower Roughness and move a light or change the preview environment. A shiny material cannot display striking highlights without useful reflections.
Patterns do not line up
Use matching UVs for Blender maps. In classic in-world materials, check each texture map's repeats, offset and rotation.
My classic specular map behaves oddly in Blender
That image is designed for a legacy in-world material system. For Blender PBR, use appropriate roughness/metallic controls or maps instead.
I want actual raised mesh details
Normal maps simulate lighting, not geometry. Use modeling, displacement, or suitable geometry for true thickness and silhouettes.
Your map checklist
- Color map uses regular sRGB.
- Normal map uses Non-Color and the Normal Map node.
- UVs match between the color and normal textures.
- Gloss is visible under useful light.
- Choose classic or PBR according to your in-world platform.