Ornate gold-and-amethyst header: Lesson 11 Preparing Meshes for OpenSim and Second Life, with a mesh-to-in-world visual journey

✦ BLENDER BASICS · LESSON 11 · BLENDER 5.2 ✦

Preparing Meshes for OpenSim & Second Life

From your Blender workbench to your virtual world: tidy the model, export a GLB, and turn it into an upload-ready Collada package with our very own Mesh Refinery.

Beginner friendlyStatic mesh practiceBlender → GLB → DAE

WHAT YOU’LL LEARN

The export spellbook

  • Clean the model and check face directions
  • Check size, transforms, UVs and textures
  • Export a selected-object GLB from Blender
  • Review LODs, physics and the DAE pack

YOU ONLY NEED

A finished static prop

Blender 5.2, a saved chest or other prop, and the Mesh Refinery in our Export Workbench.

START HERE

From a Little Creation to an In-World Treasure

You've learned to model, shape, unwrap and texture objects. Now we're making a clean, reliable export. We'll use a simple static object such as your enchanted chest from Lesson 08 and Lesson 09. A plain cube or vase works too.

Our workshop shortcut: The Mesh Refinery already accepts .glb, .obj, and .fbx. It can create the Collada .dae levels, a physics shape, and texture files for your upload. You do not need a separate Collada add-on to follow this lesson.

Keep a backup: Save a new .blend file before cleaning geometry or applying transforms. This walkthrough is for static props. Rigged clothing and avatars need extra care with armatures, weights and transforms.

KEEP THESE HANDY

Your mesh-preparation spellbook

Tab

Edit Mode

Inspect geometry and face direction.

Shift + N

Normals

Recalculate selected faces outward.

N

Item panel

Check scale, rotation and dimensions.

Ctrl + A

Apply

Apply rotation and scale to static props.

GLB

Export

Blender's portable intermediate model file.

DAE

Upload files

Mesh Refinery's prepared Collada package.

01

THE LITTLE WORKSHOP ROUTE

Three Stops to Your Virtual World

01 · Blender 5.2Clean geometry, UVs, dimensions and materials
02 · GLB fileExport a single model with its supported image textures
03 · Mesh RefineryPreview LODs, physics, and download the DAE pack

GLB is our intermediate format. The Collada files for the virtual-world mesh uploader are generated by the Refinery; there's no need to hunt for a Blender 5.2 Collada export menu.

02

BEFORE YOU SEND THE MODEL OUT

Give Your Mesh a Little Cleanup

Make a working copy

Save as Enchanted-Chest-For-Upload.blend. Keep your original modeling project safe.

Choose your objects

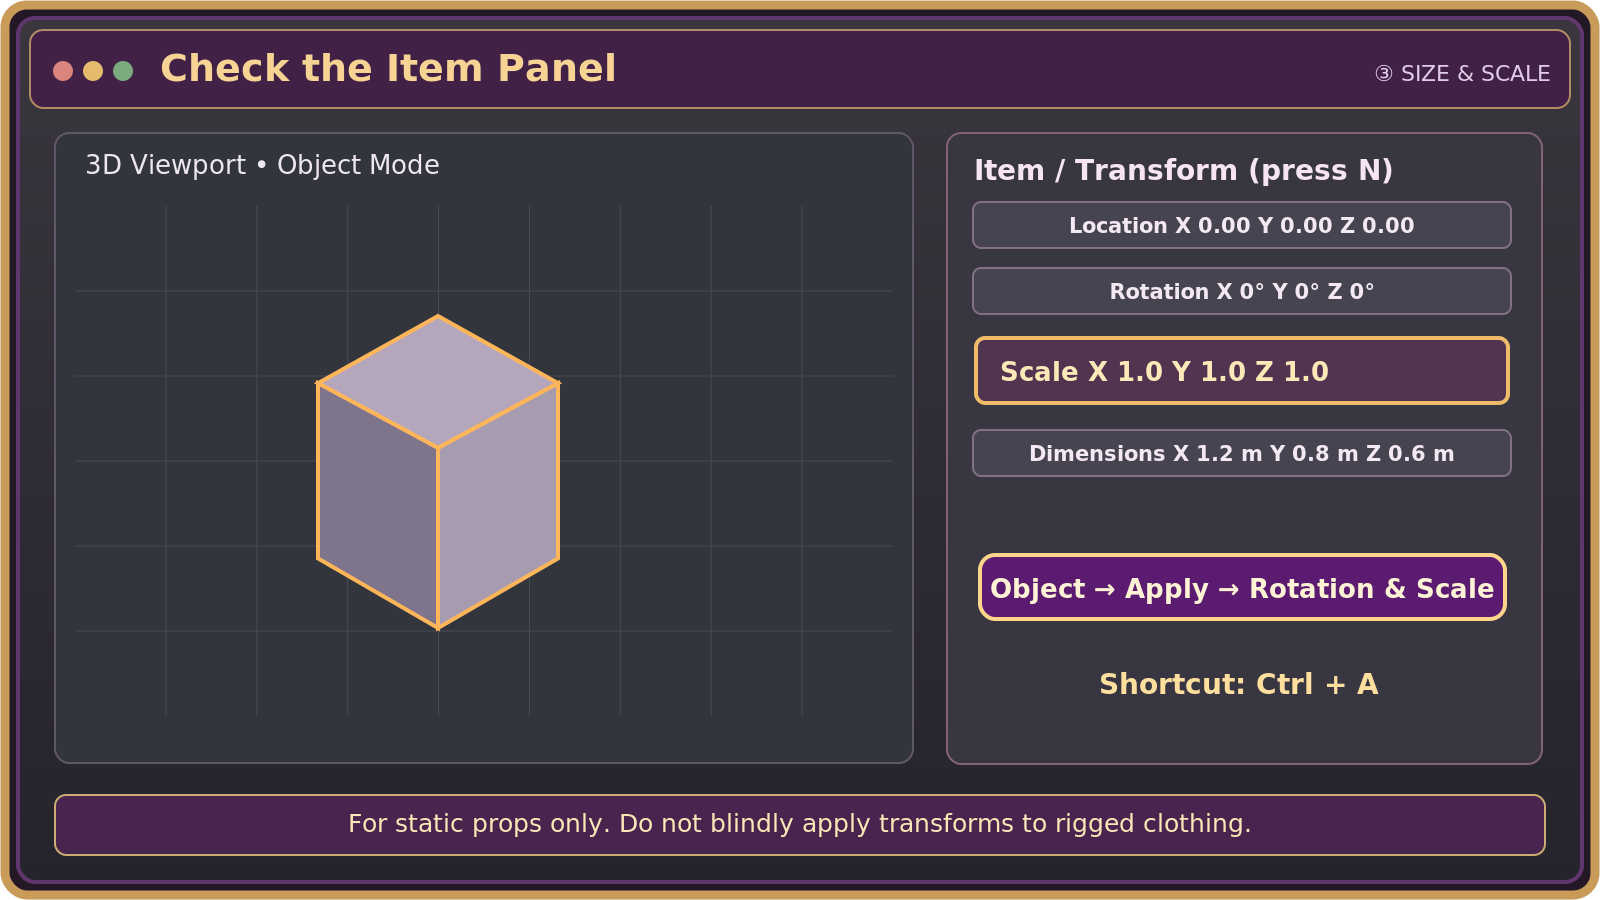
Name them clearly—Chest_Body, Chest_Lid, and Chest_Latch. Select only the mesh pieces you want to export. Leave out cameras, lights and test objects.

Check the surfaces

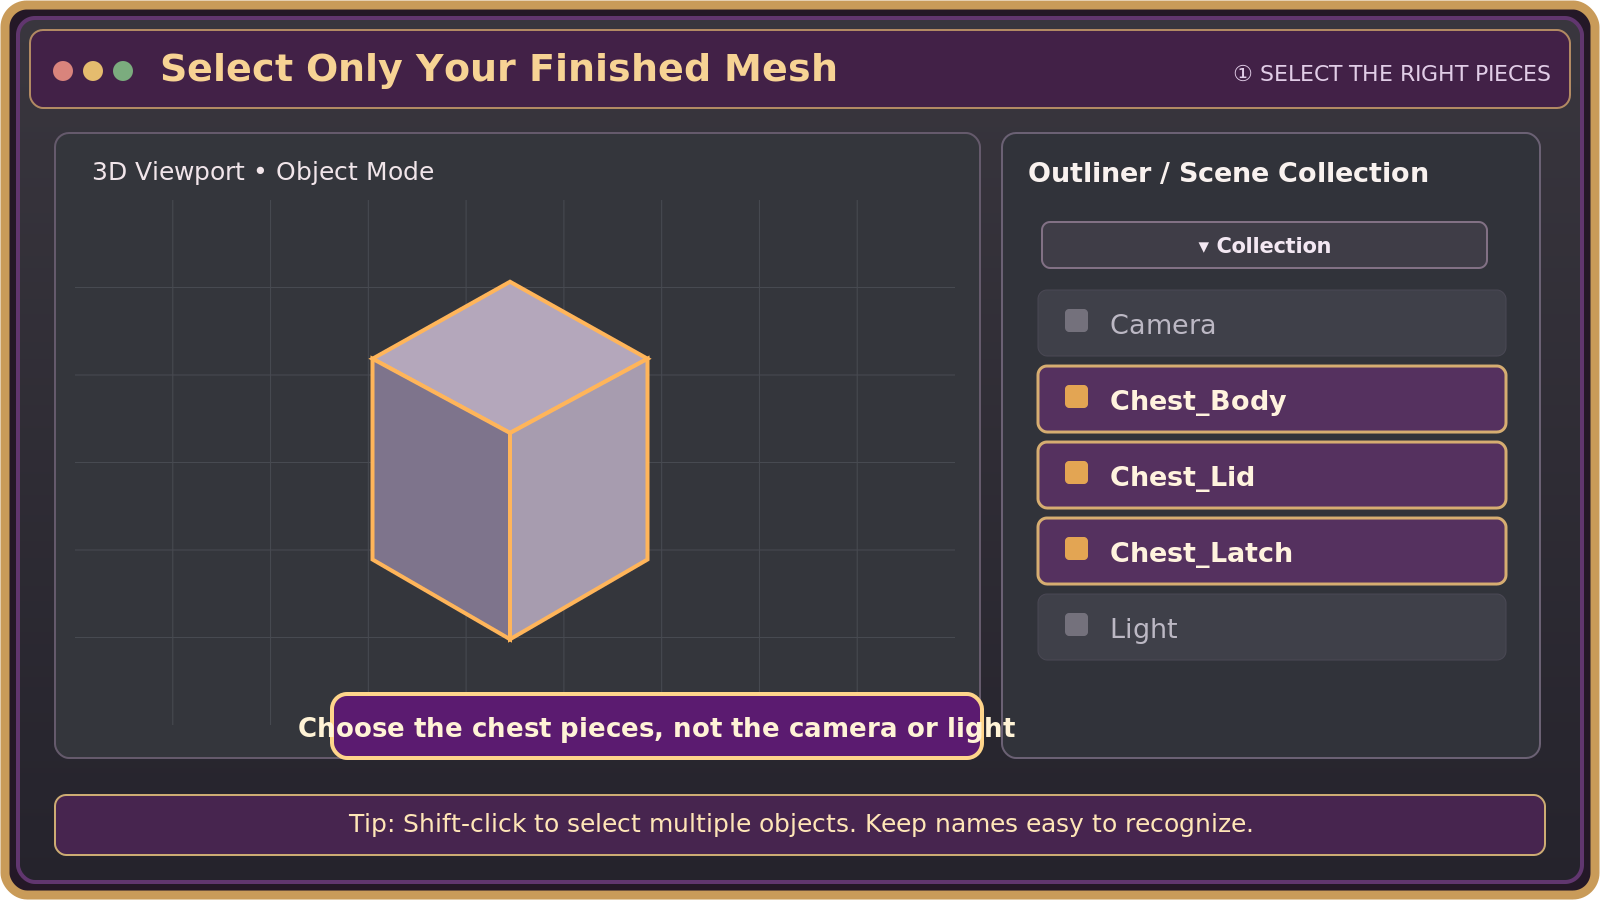
In Edit Mode, inspect for stray faces or holes. Select all mesh geometry with A and use Mesh → Normals → Recalculate Outside (Shift + N) where appropriate. Check Face Orientation if shading seems wrong.

Keep geometry sensible

Bevels and tiny decorations cost triangles. Remove unnecessary hidden geometry, but don't erase details that make the object recognizable from a distance.
Where to select only Chest_Body, Chest_Lid and Chest_Latch in Blender’s Outliner; camera and light are not selected.
Select only your chest mesh pieces in the Outliner. Leave cameras, lights and test objects out of the export.
Blender style face orientation preview: outward surfaces shown blue and reversed surfaces red with Face Orientation enabled in Viewport Overlays.
Turn on Viewport Overlays → Face Orientation when checking surfaces; blue faces point out and red faces point inward.
Creator's tip: Avoid using Merge by Distance on everything automatically. It can weld geometry you intentionally kept separate. Inspect the model first.
03

MAKE SIZE AND MATERIALS BEHAVE

Scale, UVs & Textures

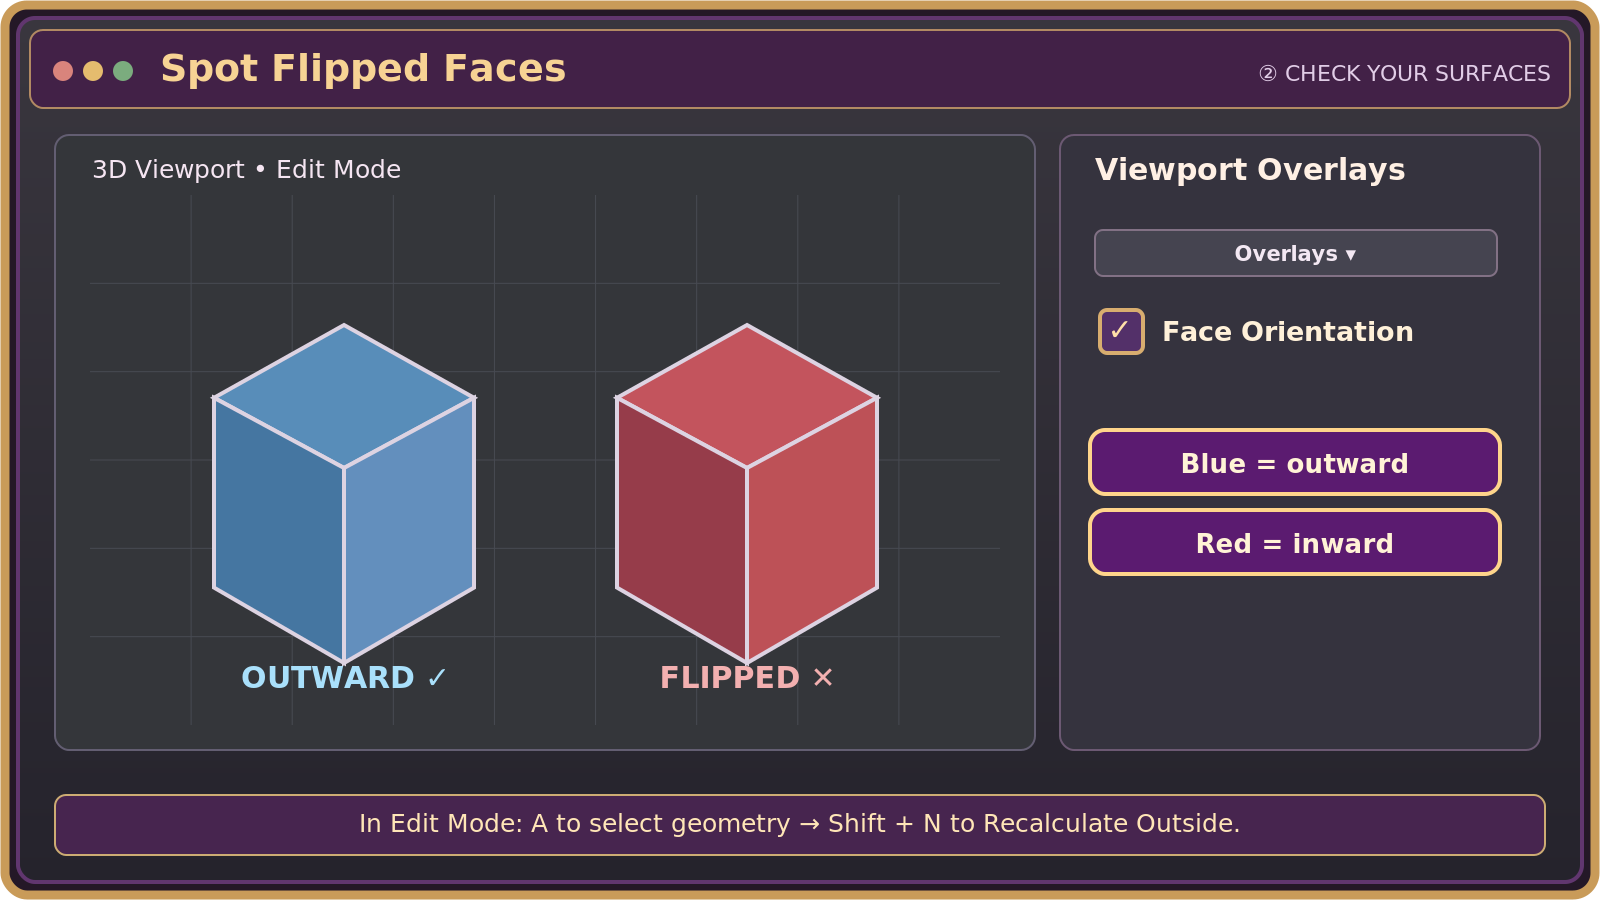
  1. In Object Mode press N to see the Item panel. Check the object's Dimensions and aim for a sensible real-world size in meters.
  2. For this static practice prop, consider Object → Apply → Rotation & Scale (Ctrl + A) after your modeling is finished. Its visual size stays the same, while applied scale returns to 1. Do not blindly apply transforms to rigged or animated items.
  3. Make sure faces point outward and UVs cover the parts that need an image texture. Review UV Mapping Basics if the texture is stretched.
  4. Check your image materials in Material Preview. Keep the original PNG files too—even if the GLB includes supported textures. Some Blender-only procedural effects will not survive a GLB export without baking.
Blender Item panel showing Location, Rotation, Scale and Dimensions, with Object Apply Rotation and Scale shortcut for static props.
Press N over the 3D Viewport to check dimensions. Apply Rotation & Scale only when appropriate for this static prop.
Watch the origin: The object origin affects placement and alignment. For a set of pieces that should stay together, inspect their positions and preview the full assembled result before export.
04

ONE EASY FILE TO TAKE TO THE REFINERY

Export a .glb from Blender

  1. In Object Mode, select the finished static mesh pieces that belong in your creation.
  2. Choose File → Export → glTF 2.0 (.glb/.gltf).
  3. Set Format to glTF Binary (.glb). Under Include, turn on Selected Objects so extra scene objects aren't included.
  4. Keep UVs, Normals, and the relevant Materials enabled. For modifiers that should be part of the final shape, use the exporter's Apply Modifiers option if appropriate.
  5. Export as Enchanted-Chest.glb. You now have a single file to bring into The Mesh Refinery.
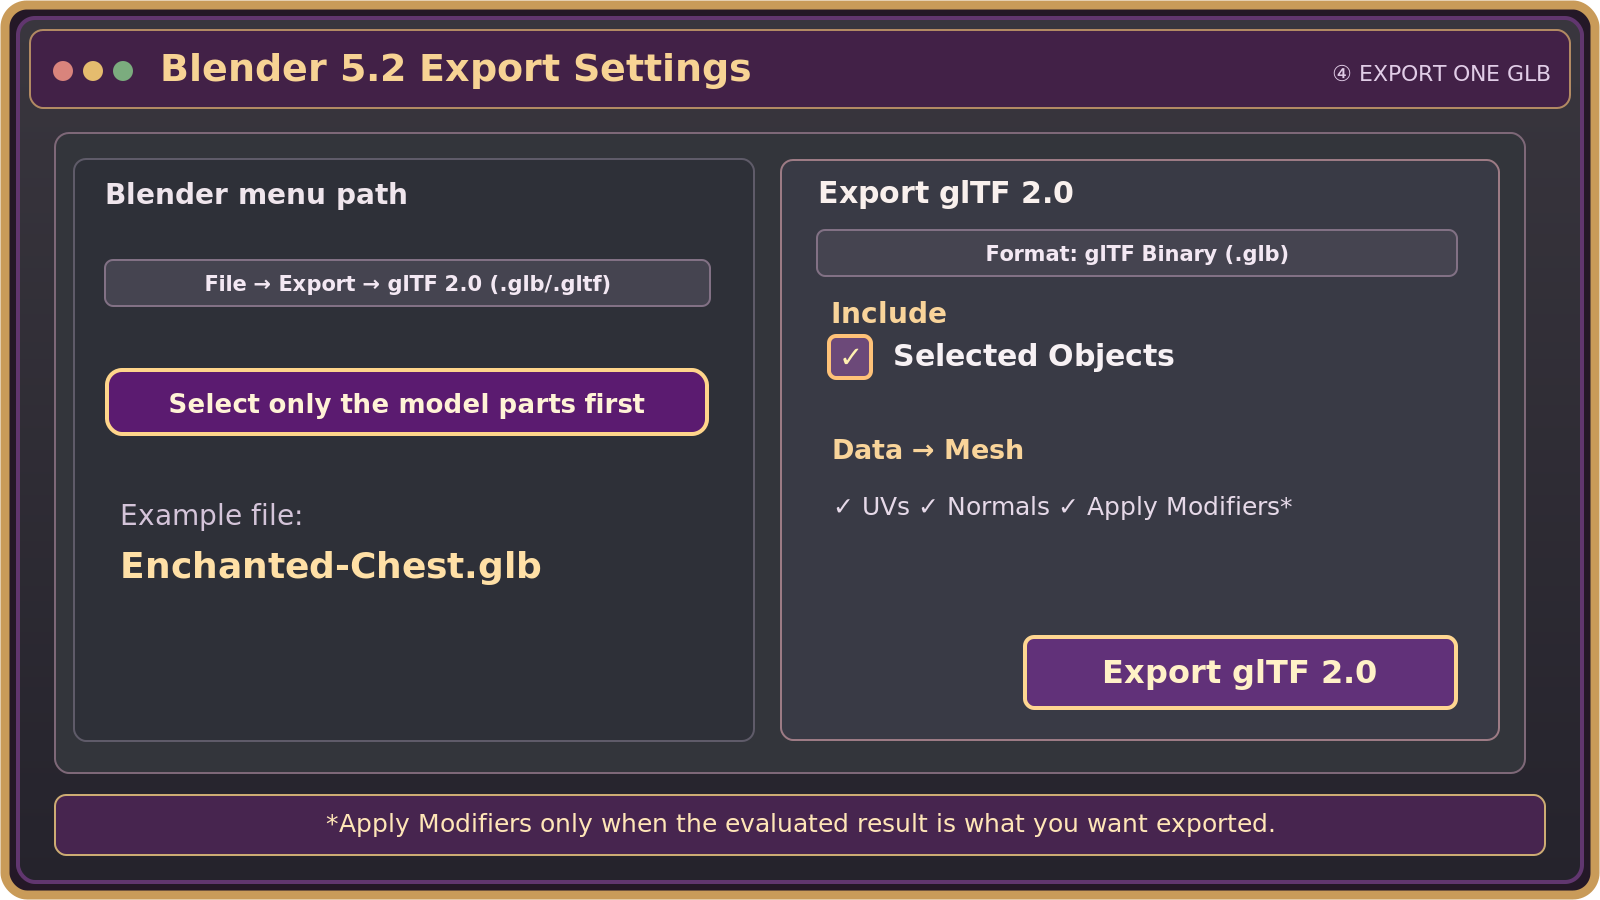
Blender 5.2 glTF 2.0 export example with glTF Binary format, Selected Objects checked, UVs and Normals included.
Choose glTF Binary (.glb), enable Selected Objects, and include UVs and Normals. The menu labels reflect the Blender 5.2 exporter.
Why GLB? Blender's glTF Binary format packages mesh data and supported images in one file. More advanced Blender node effects may need baking or simplification before export.
05

YOUR ENCHANTED WORKSHOP ALREADY HAS THE TOOL

Turn Your GLB into a Collada Upload Pack

The Mesh Refinery: a magical mesh preparation workbench for OpenSim

The Mesh Refinery is found in the Export Workbench. It works with .glb, .obj, or .fbx input and gives you visual previews of the upload preparation.
Open The Mesh Refinery
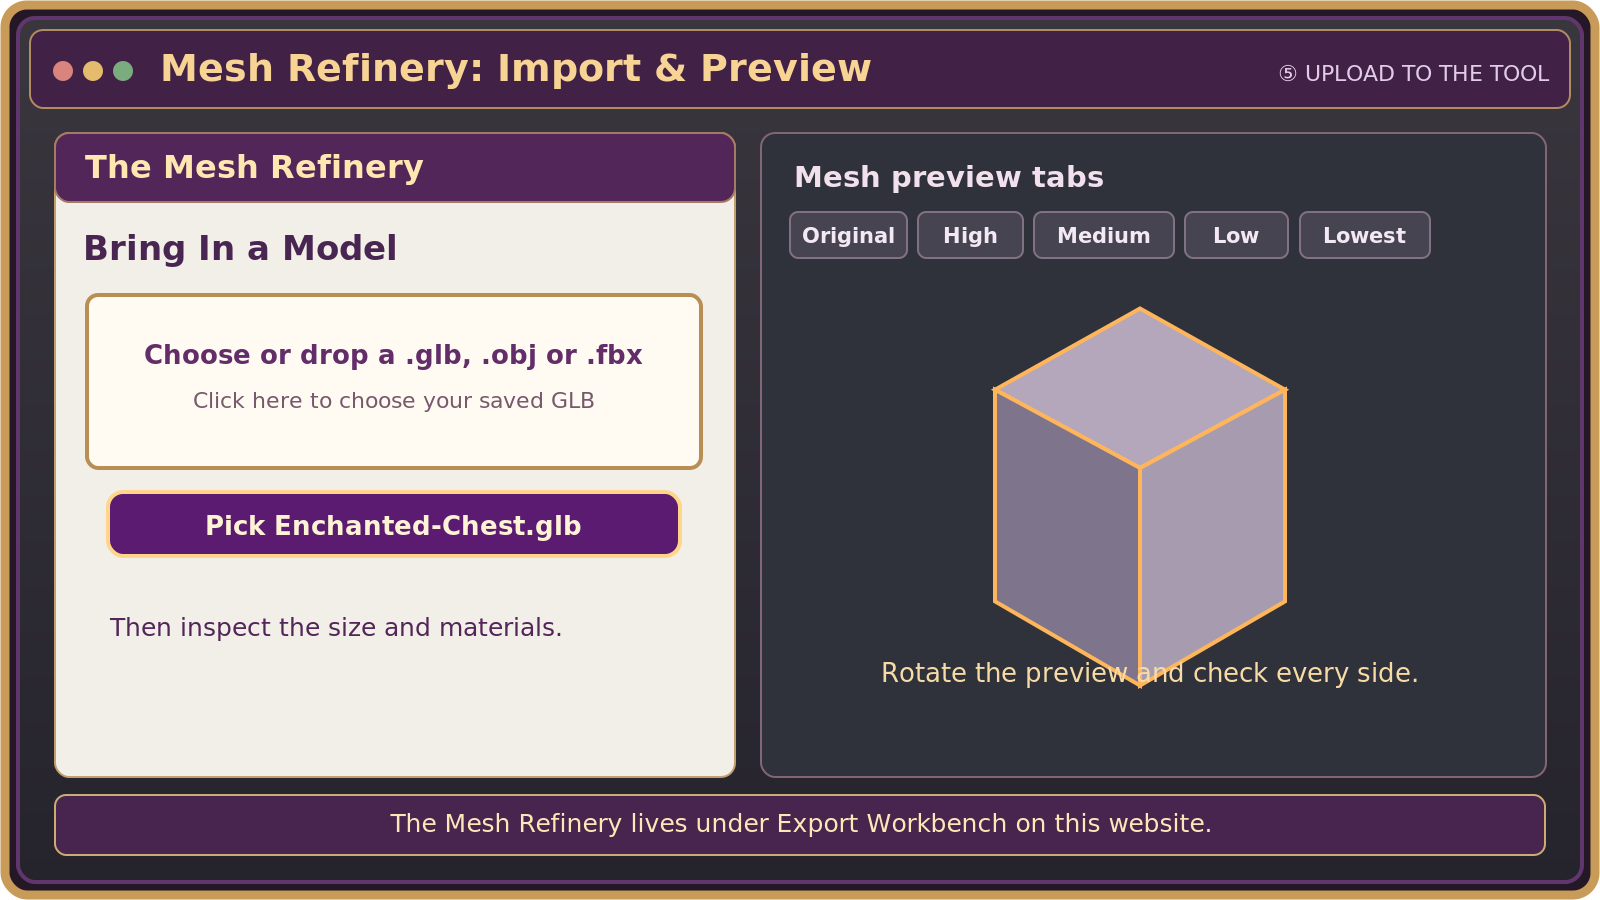
Illustrated Mesh Refinery interface showing Choose or drop .glb .obj or .fbx and Original, High, Medium, Low and Lowest preview tabs.
Inside our Mesh Refinery, click the model drop zone and check the Original and LOD preview tabs.
  1. Click Choose or drop a .glb, .obj or .fbx and select your exported Enchanted-Chest.glb.
  2. Check the preview and intended size. Look for missing parts, flipped surfaces, or oddly rotated pieces.
  3. Review High, Medium, Low, and Lowest detail levels (LODs). They decide how your model looks as you move farther away. Keep recognizable shapes at lower detail.
  4. Choose a suitable Physics Shape. For a simple decorative prop, a simple collision shape is usually easier than an extremely detailed one.
  5. Review the generated UV and texture previews. The Refinery can rebake textures onto its prepared mesh, so use the images included in its export pack with those exported DAE files.
  6. Click Download upload pack (.zip). It contains files ending in _HIGH.dae, _MED.dae, _LOW.dae, _LOWEST.dae, and _PHYS.dae, plus available textures and upload instructions.
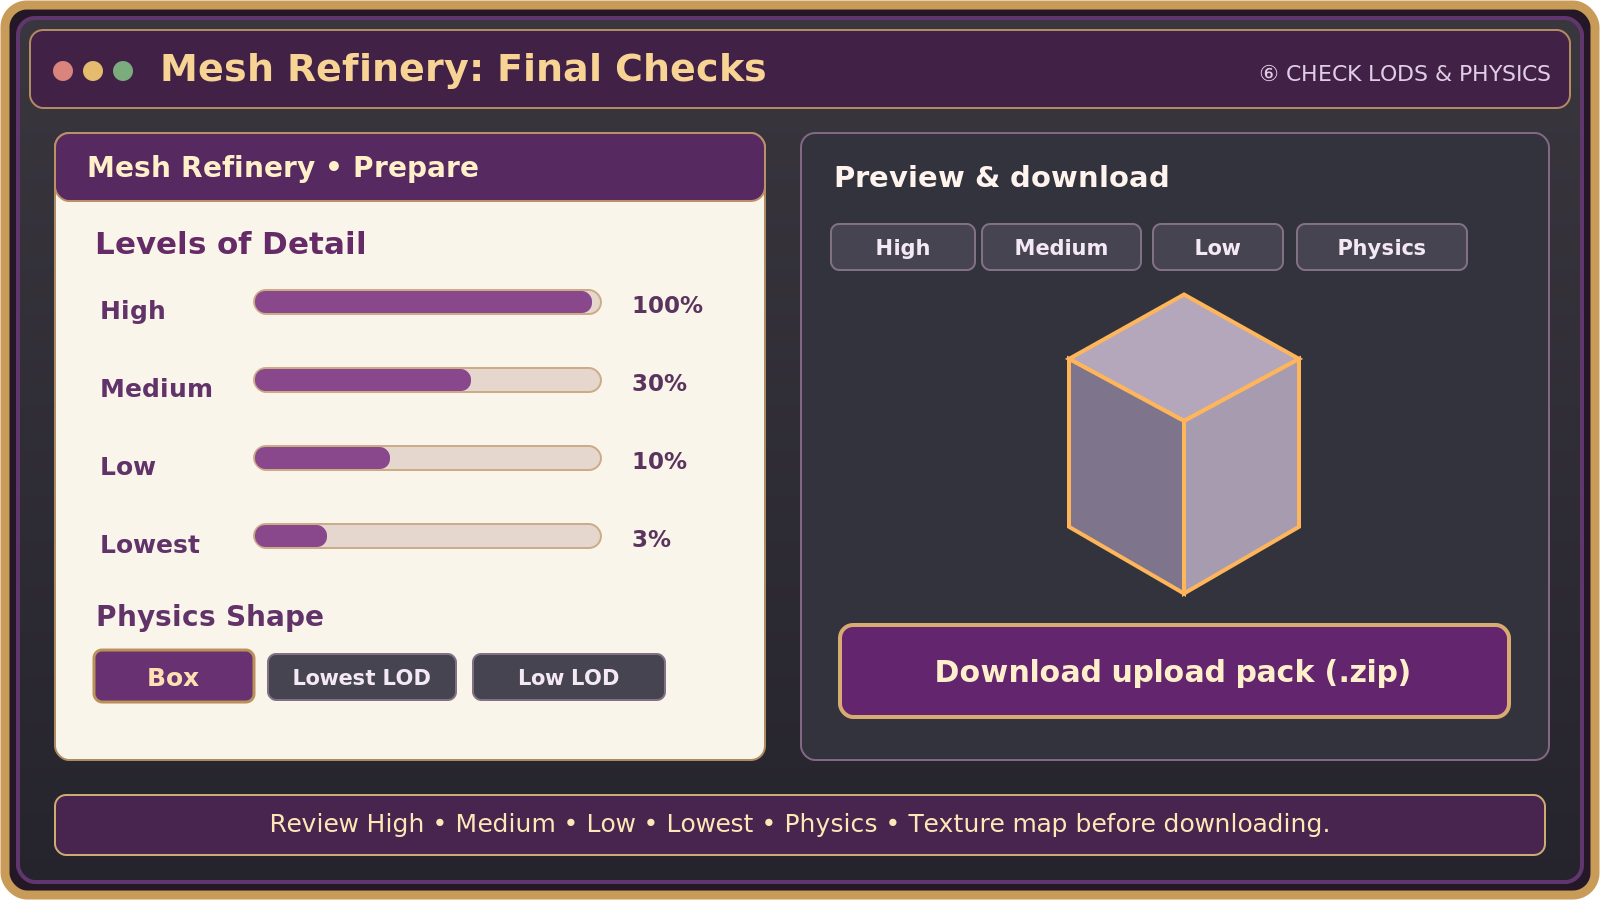
Illustrated Mesh Refinery interface showing levels of detail controls, Physics Shape Box option, and Download upload pack zip button.
Review each detail level, choose a suitable Physics Shape, and finish with Download upload pack (.zip).
Important: The Refinery does more than rename a file. It prepares separate detail levels and physics geometry for the upload. Inspect its results before using them. For rigged clothing, follow the tool's rigged instructions instead of this static-prop example.
06

A LAST LITTLE LOOK BEFORE THE PORTAL

The Ready-for-Upload Checklist

My object looks upside down or sideways.

Compare its orientation in Blender and the Refinery. Check which way the model faces, then re-export the GLB if necessary.

Textures are missing or don't line up.

Check that Blender uses image textures and proper UV maps. If the Refinery rebuilt UVs, use its matching exported PNGs rather than your original texture atlas.

The model looks odd from a distance.

Review Medium, Low and Lowest LODs. Tiny details may disappear as geometry is reduced; preserve the main silhouette first.

Will it look identical in-world?

Not always. In-world materials, supported PBR settings, grid limits, and viewer behavior vary. Always preview the upload and test your materials after rezzing.

← Back to Blender Basics